This week, I'm sharing a blog post dedicated to illustrate the process of making the sets and props of these narrow gauge railways of Thomas & Friends.

Some of my favorite of the world's railways are narrow gauge, and watching Thomas & Friends and reading the Railway Series books as a boy, some of my favorite stories were the books that included the Skarloey and Mid-Sodor railways and the others that didn't make it on television. The excellence of the models that were made for the sets by David Mitton's model-making team for the TV show inspired me to learn more about model railroading, and making hand-crafted pieces of art for the screen for animation careers and film projects.
This grew into a hobby that's lasted ten years, when I decided to teach myself how to make models from the show, and to grow in my model-making skills, just for the sheer fun of it! In recent years the quality and detail keep getting better and better, but using the same materials I could find locally and cheaply at craft and hobby stores. These are some of the things that have been finished, and I'd like to take you behind the screen to see how these sets and props are made.
SET CONSTRUCTION:

For various sets, I make temporary dioramas that can easily be assembled. Scenics are from various suppliers. Trees are for winter decorations and dioramas with wooden stands I've used for quite some time for my narrow gauge scenes. The newest material I've found that I love to use are from Ashland at the craft store, such as lichen, moss, and grass mats of many different colors and textures. for this scale, it's the perfect collection of scenic materials to give life and lush landscapes for these engines to run.

If space is limited, I've learned there are many ways to use what you have to create a model set that's believable in the frame. That's what I've found the most useful in making "live" sets to put up and tear down. I can make the scene in any way I want it, and for any reason, if I'm not happy with it, I can start again!

Focusing on creating something that is believable with these scenic materials has helped create some lovely scenes, and it's taught me how big an impact it can make in transforming a seemingly ordinary space into something quite beautiful.
CAMERA FILMING:


Now we're good to get ready for shooting! Set in fame with a tripod, I focus the camera at the angle I want to capture the subject, in this case Duncan! When I'm happy with the arrangement of the the props and accessories in frame, the composition, and the lighting, I record my footage, and maybe take a photograph for a photo gallery of the footage or to share on social media! Any corrections needed such as the edge of a backdrop that needs to be covered can for some shots be edited in post production.
 Having good lighting helps gives the things on the layout you want to see more exposure, and makes the appearance of your set look more natural, and having other smaller directional lights handy can even create subtle effects like lit interiors for buildings or overhead lights.
Also, arranging everything around the work area for filming is something that when done right can help make your scene look like it's bigger than it actually is, especially when you have limited space. You can apply this knowledge to any layout using almost anything that makes the illusion work, often using common, everyday objects.

Digitally, the magic happens. I've been learning how to generate all kinds of film effects, and while preparing for making the compilation, I made many tests with images that have overlays like birds, structures or scenery either in the foreground or background, and both color grading and texture overlays to create a film look that captures the feeling of how things looked from the era these engines ran their railways.
It's a lot of fun to do, although it can take up a lot of time when you're first learning how to use it.


Some of my favorite of the effects that made it into the cut are the more natural ones based on the seasons and the time of day. This one has Rusty traveling on my first winter diorama with snow from Woodland Scenics! I absolutely love winter scenes and getting to make one of my own for the first time was quite wonderful indeed. The engines are also battery powered so there was no trouble with the operation.
Color grading can give an emotional charge to special moments of a video when it's done with a purpose. These are two variations done for Rusty's winter scene, the first giving the diorama a warm sunset color scheme, the last one I ended up choosing, because of the coldness of the cool colors, and the white light of the afternoon sun.

In the computer, After Effects has a built-in 3D generator to create rain and snow, with controls that allow you to change the angle, thickness, and speed of the falling snow on your footage. I also gave a splash of cool blue color grading to give this scene a cold, magical winter look. For Rheneas at the Wharf, there was rain falling as the sun was setting, so there was a cool mid-tone with warm highlights, and the rain generator created the raindrops.
PROP BUILDING | ROLLING STOCK:

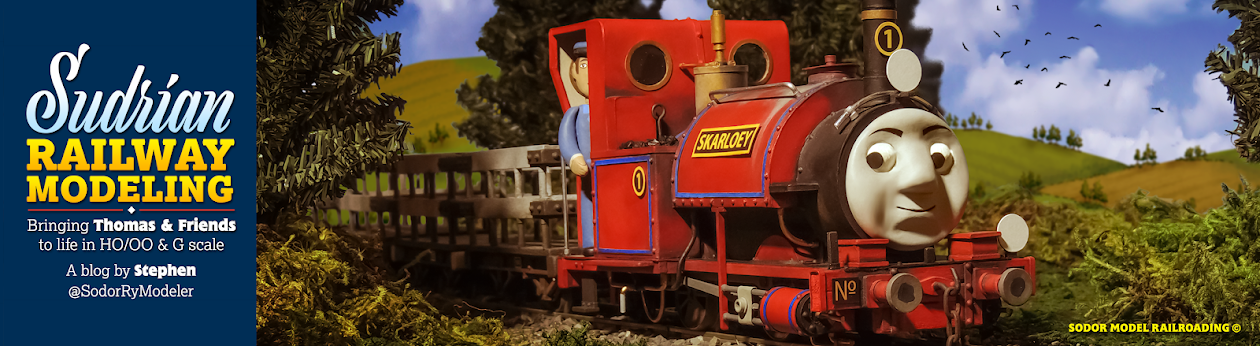
Recently I've completed five Sudrian narrow gauge locomotives, four of the Skarloey Railway engines that are featured in my newest work. Made from scratch, these engines have features that are inspired from the original illustrations of the Railway Series, how the models of the Thomas and Friends TV show looked from specific seasons, and their respective prototypes. They've been made in the spare time that I have dedicated to the hobby. It is quite an enjoyable and dedicated process for me that has seen a lot of rebuilds and practice to make sturdy and believable treasures.

You can click this link to find all of the posts showcasing how I make these narrow gauge scratch-built locomotives and rolling stock and how they're constructed, and a page dedicated to the various stages of model-making.
PROP BUILDING | ACCESSORIES & DETAILS:

In scenes like this, I have a lot of natural materials on hand from going outside the neighborhood, like twigs and broken branches, loose road ballast in different grades, dirt, and rocks. Craft store accessories like these pink flowers make eye-catching features in the frame of the camera.

For scenes like at Rheneas Quarry Sidings, I have printed signs I make in Adobe Illustrator, mounted and glued on thick card. I cut strips of balsa I paint to make either appropriate stands, with a wire drilled into the base to stick to the scenery or foam core base, or have thinner strips to serve as the border for station structures.
Other signs I like are those made for warning signs, like limited clearances, station yard notices, and cargo labels. More of what I'd love to include more that sets the period of a given railway are posters, advertising food, travel, war posters, motor supplies, and local businesses.
If you want to see these models in motion on these sets, you can watch my newest video compilation made especially for them on my YouTube Channel.
Thanks for reading, and happy modeling!
 You can follow my work from this hobby on social media through these platforms:
Twitter | SodorRyModeler
Follow for live updates and process
YouTube | SudrianRailwayModeler
Watch and subscribe for model reels, effects, and remakes
Blogger | Sodor Model Railroading
I love your Models! They look amazing!
ReplyDeletethese modles look amzaing im started moldling trackmaster in to the railway series steames
ReplyDelete